
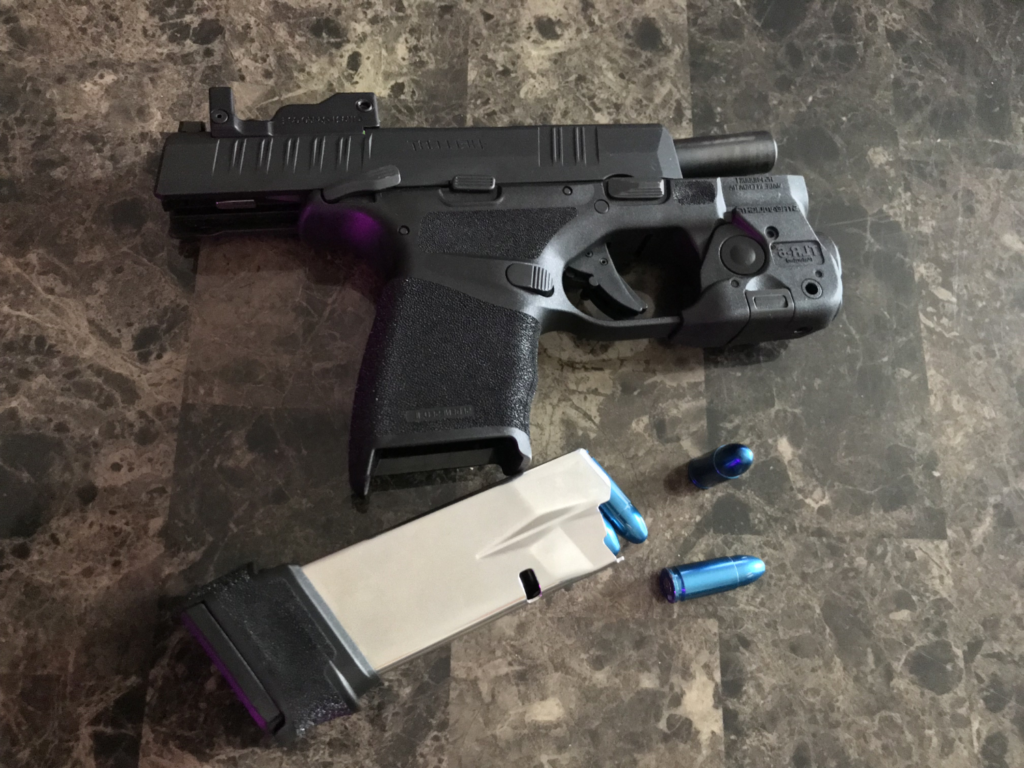
Before we start any dry fire practice, focus on safety first. Please remove ALL ammunition from the room and place in a safe, dry and cool place. Make sure firearm(s), mag well(s) and magazine(s) have all been checked/cleared of ALL ammunition. When aiming, make sure it’s in a safe direction and nothing you intend to destroy is in the firearms path. This includes checking the other side of the wall and beyond.
“Practice doesn’t make perfect. Only perfect practice makes perfect.” -Vince Lombardi
Dry fire practice helps establish finger dexterity, muscle memory, decreased anxiety, decreased cost w/o the use of ammunition, increased accuracy and many other positive benefits.
Now on to the dry firing drills.
1) Simple Dry Fire
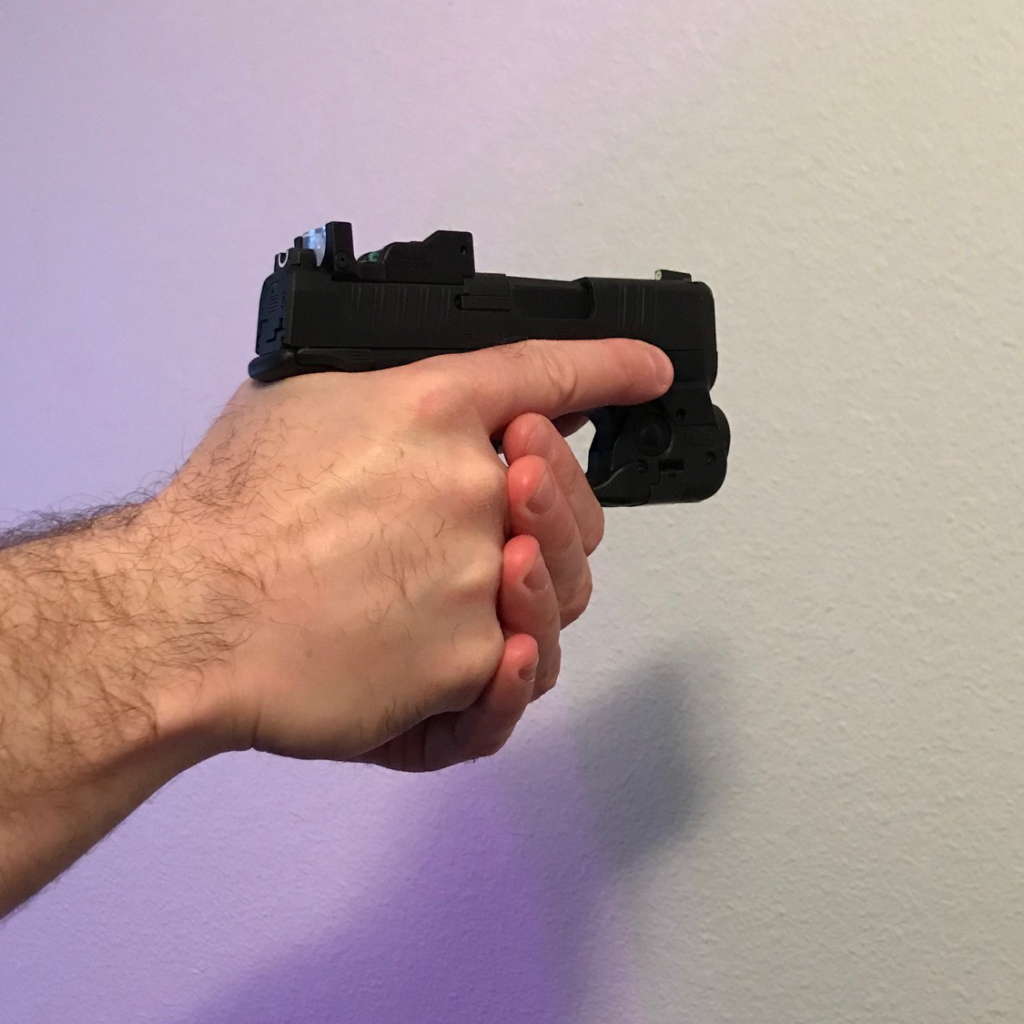
For this drill we’re simply focusing on basic fundamentals of placing the sights on target, proper grip and trigger press. Try standing in front of white wall and simply get into position. Wrack the slide back and with proper grip, get the sights aligned and slowly pull the trigger through the wall (the resistance point of the trigger press). Repeat this process. Even the most advanced marksmen take the time to simply dry fire.
2) Balace for Trigger Control
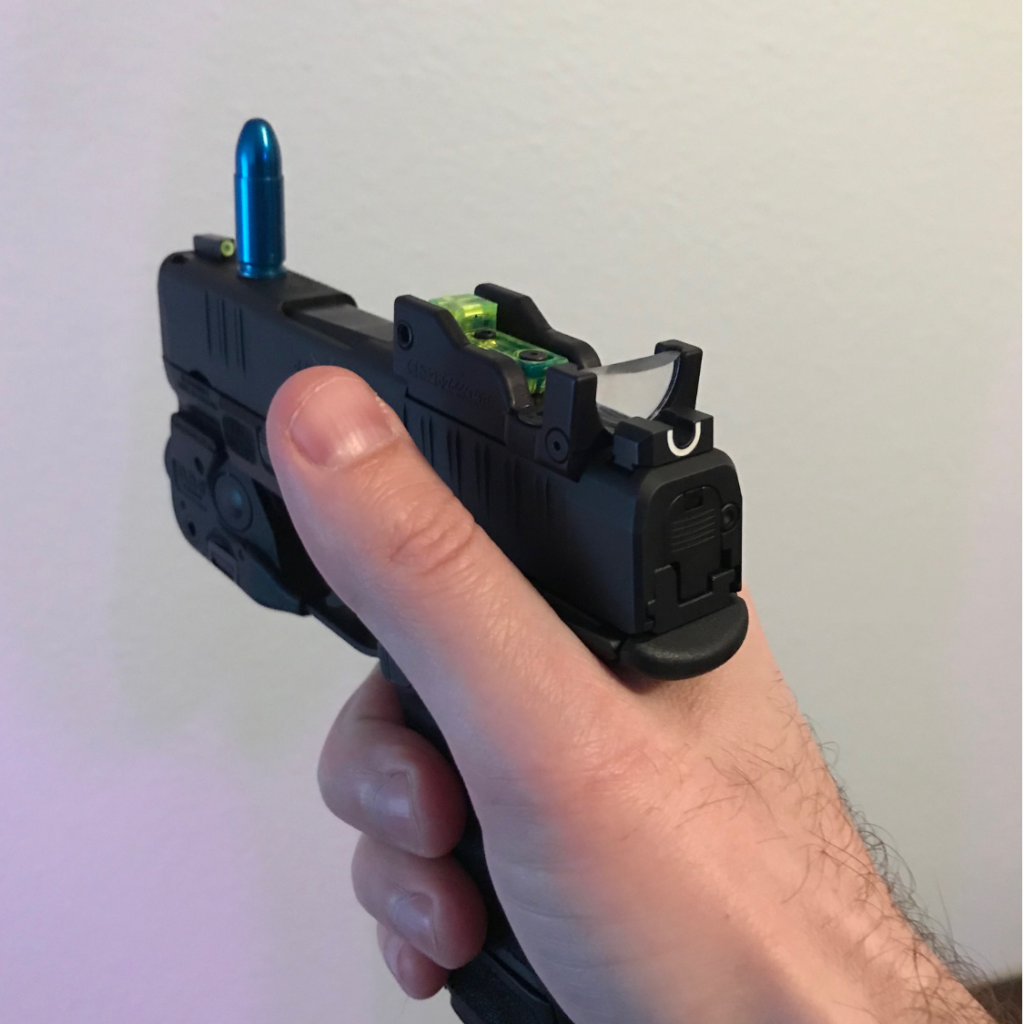
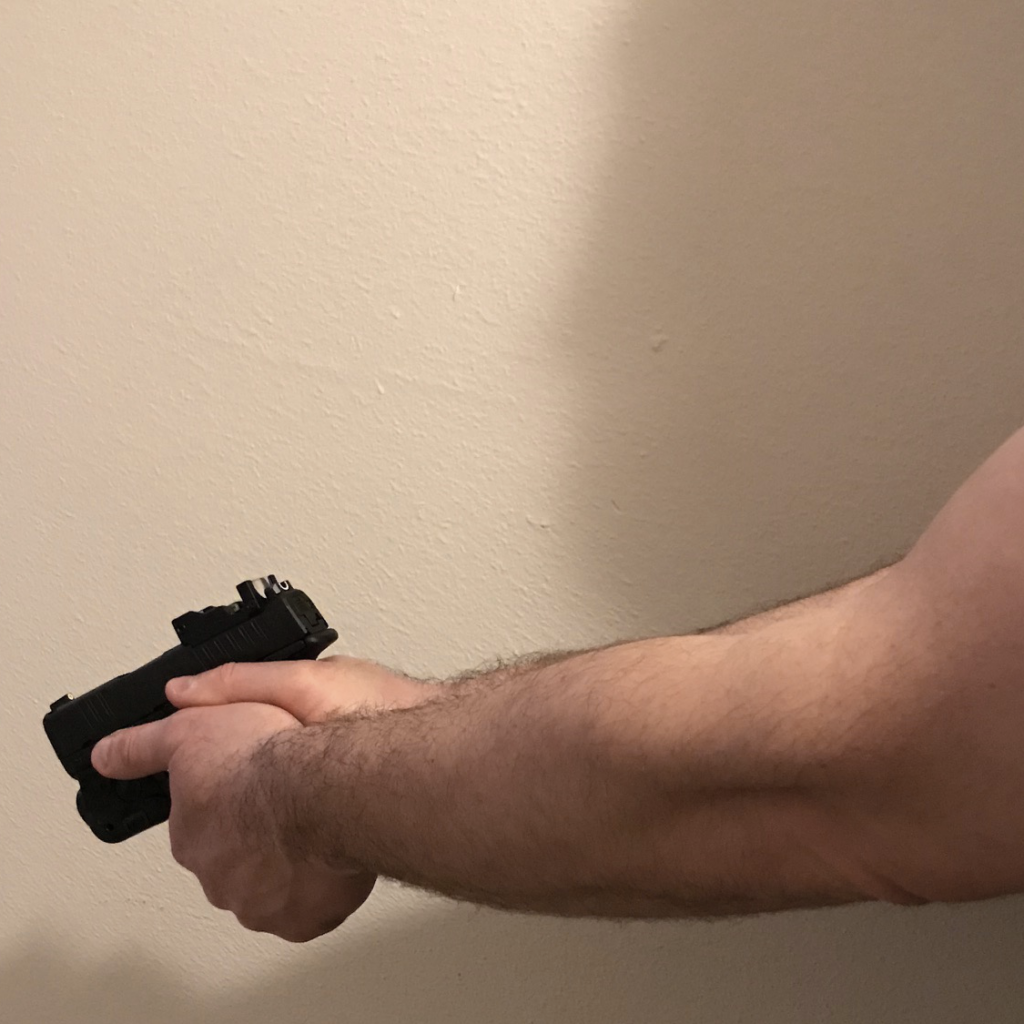
This drill can be completed with the use of a thumb tack, coin, empty casing or SNAP cap. We would suggest using a SNAP cap because they should already be available during this dry fire exercise. Next, grab one of these items and balance it on top of the slide. Now with proper position and grip, pull the trigger slow and steady without dropping the item balancing on the slide. Repeat as necessary. (Note: Had to take a picture with the other hand! It took more than a few tries.) This is especially helpful for new firearm owners that may also need to build finger dexterity or upper body strength. Note: This is also a good indicator if the weight of the firearm exceeds the users limitation. Getting properly fitted for a CCW (Concealed Carry Weapon) should also be done with a Certified Firearm Instructor.
3) The First Shot
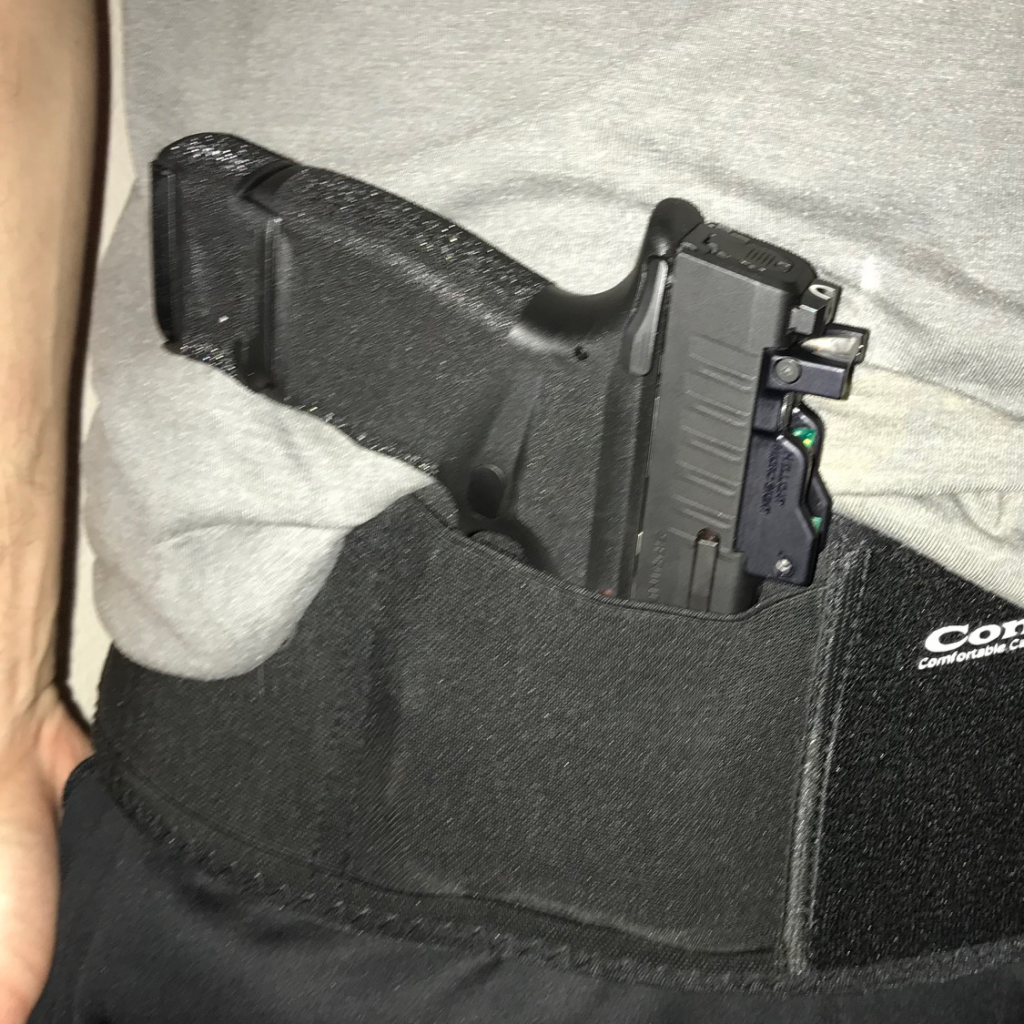
Concealed Carry means that the firearm is hidden on body or off body. There are countless options and finding a holster that fits comfortably is key for this exercise. The First Shot is exactly what it means. Practice drawing, presenting and firing the firearm from the concealed location in a slow, but steady pace. Don’t focus on speed. Slow is smooth and smooth is fast! In a self-defense situation, always have the first shot!
4) Multiple Target Transition

This exercise will need two targets and placed about 3 feet apart on the wall. Starting from a low ready position, aim at the first target and pull the trigger. Then quickly transition to the second target, get the sight dialed in and pull the trigger again. Building the muscle memory with target acquisition is the main focus in this drill. Remember, recoil will affect this exercise and once comfortable, transition to live fire. For the sake of saving money on ammunition though, dry firing is always a great option.
5) Presentation
The Presentation Drill has been included in earlier exercises, but this is simplified to help build important muscle memory. Practice drawing from the concealed carry position, presenting the firearm with proper grip and aligning the sights in a slow, but steady pace. Again, don’t focus on speed. Slow is smooth and smooth is fast!
Have other dry firing drills that are a favorite? Submit them in the comment section below.
Stay well and stay safe!