Going back to basics, regardless of industry, is a great way to support a foundation for further growth. This is no different for firearms. For this specific post, we are going to take a deeper dive into the firearm safety rules, explain the WHY and provide detailed scenarios of each.
Take a second to read the rules below and understand that they all promote safety. They also support one another and remember that no one rule is more important than another.
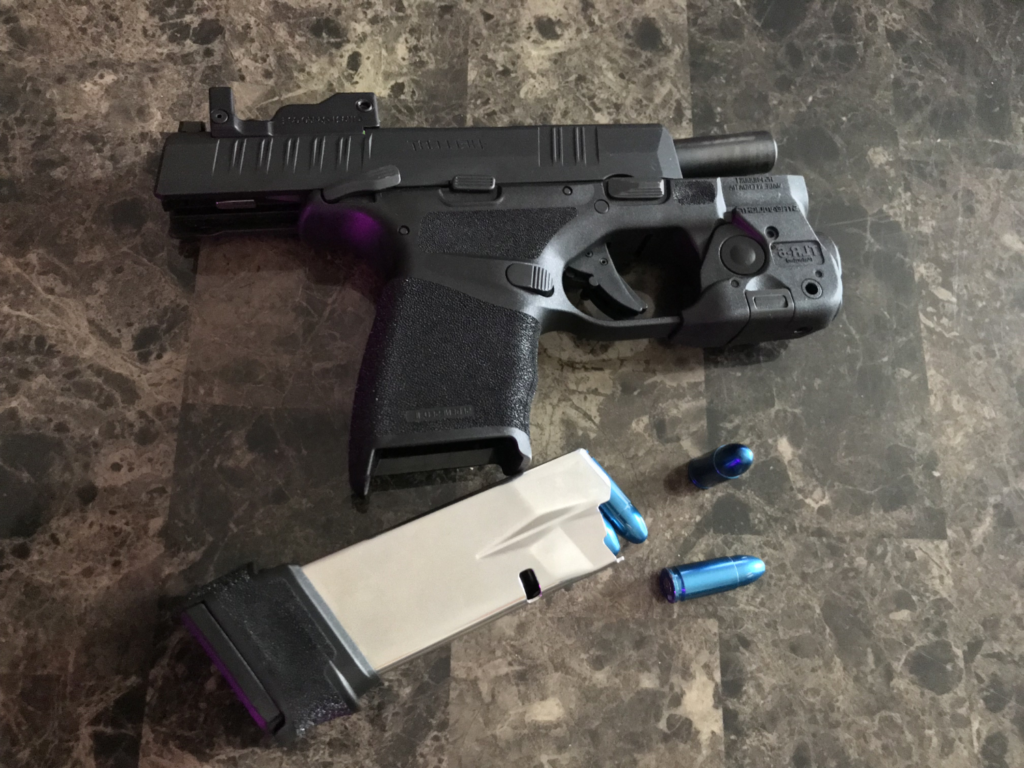
Treat Every Firearm As If It Were Loaded
Is a water gun, dart gun or toy gun considered a “firearm”? This debate can go back and forth for days and can get very heated for parents on all spectrums. Especially when we consider children and firearms, we want to build muscle memory for safety. These toys can be fun (and they are), but they can also create an arena for complacency.
Muscle memory can take up to 2 to 4 weeks to establish, but on-going refresher is needed to maintain memory. Firearms training is physically and mentally challenging. What happens to human muscle mass if conditioned at the gym for 4 weeks straight and then stopped for 1 month? According to healthline.com, we can see diminished performance just after 4 weeks of not working out.
All of these safety rules require motor skills and motor skills are perishable, meaning that to maintain or improve firearm skills takes continued, on-going practice.
A simple maneuver, such as properly retrieving a firearm laid on the nightstand in the dark can create many safety concerns or complications. Is it pointed in a safe direction? Is the safety on or not? Are there items blocking it? Is the firearm in a locked safe? Can the firearm even be identified in the dark? Is the firearm equipped with night sights and/or light? Regardless, there are many questions to consider beyond the basic safety rules. But let’s not get ahead of ourselves. Let’s cover the 4 basic firearm safety rules.
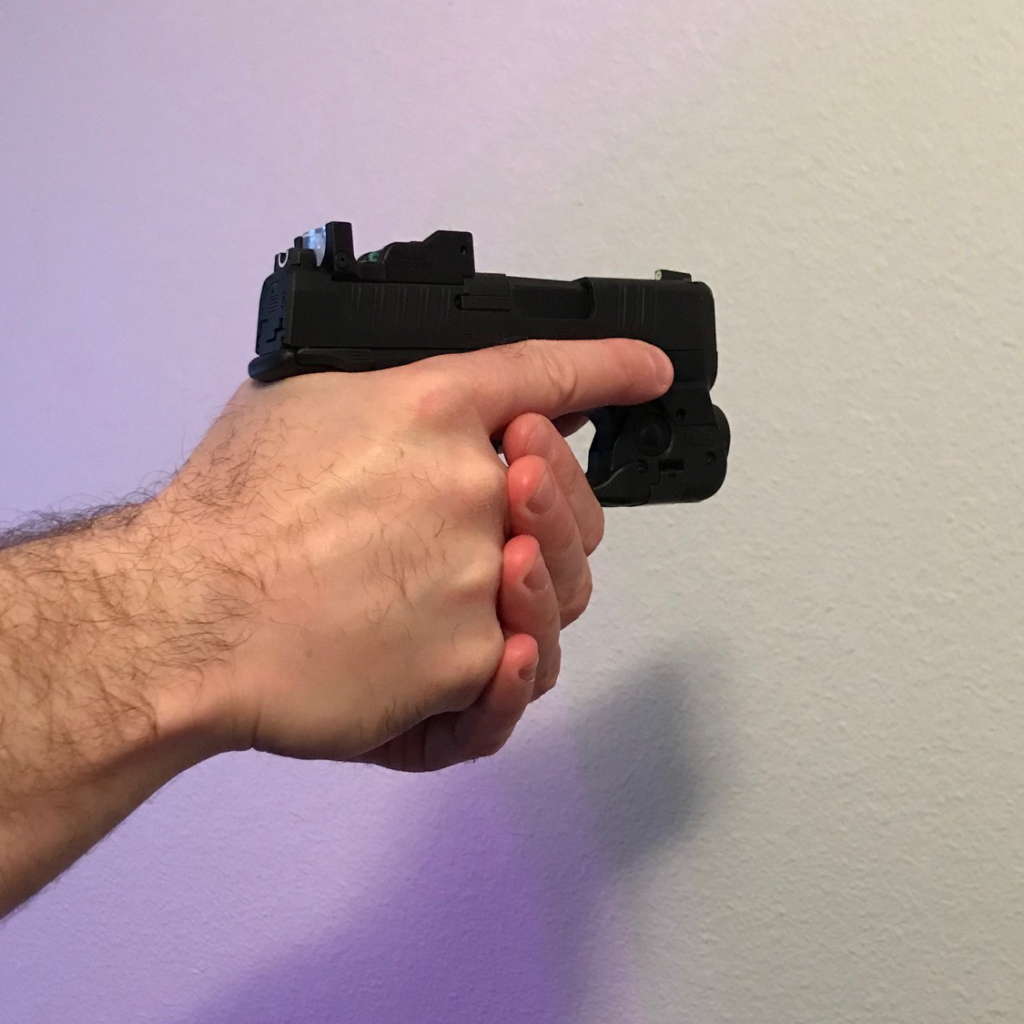
Never Point the Firearm at Anything You Are Not Willing to Destroy
As mentioned above, treating all firearms as if they were loaded. This safety rule is compounded by focusing on muzzle control. The muzzle is the front part of the barrel and for on-going practice, think of a high-intensity laser coming out the front of the firearm. It would ultimately destroy anything in its path. Especially for beginners, having a laser or light on the front of the firearm as a constant reminder during practice may help amplify that muscle memory.
This is especially important when holstering, presenting, firing, maneuvering, SUL/Temple Index stances, etc. The more motion we incorporate, the higher probability of complacency in muzzle control.
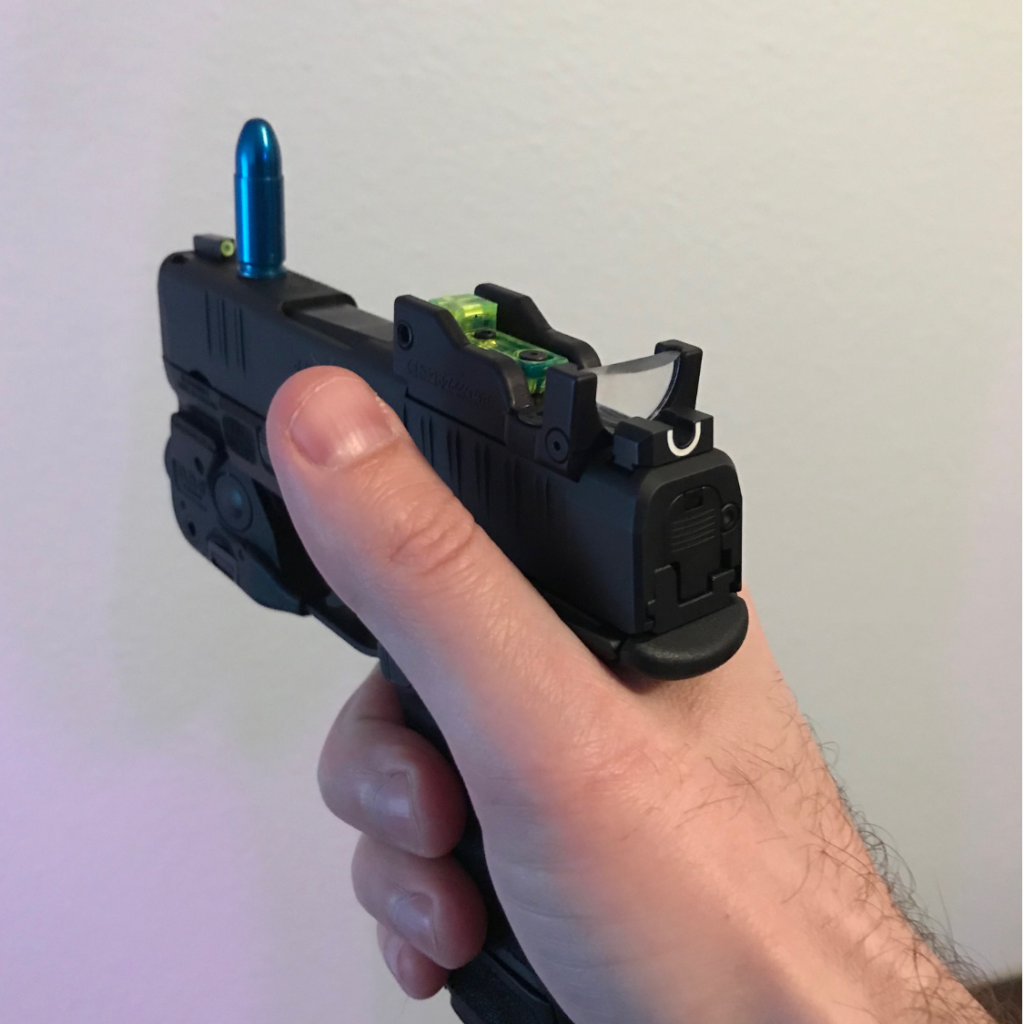
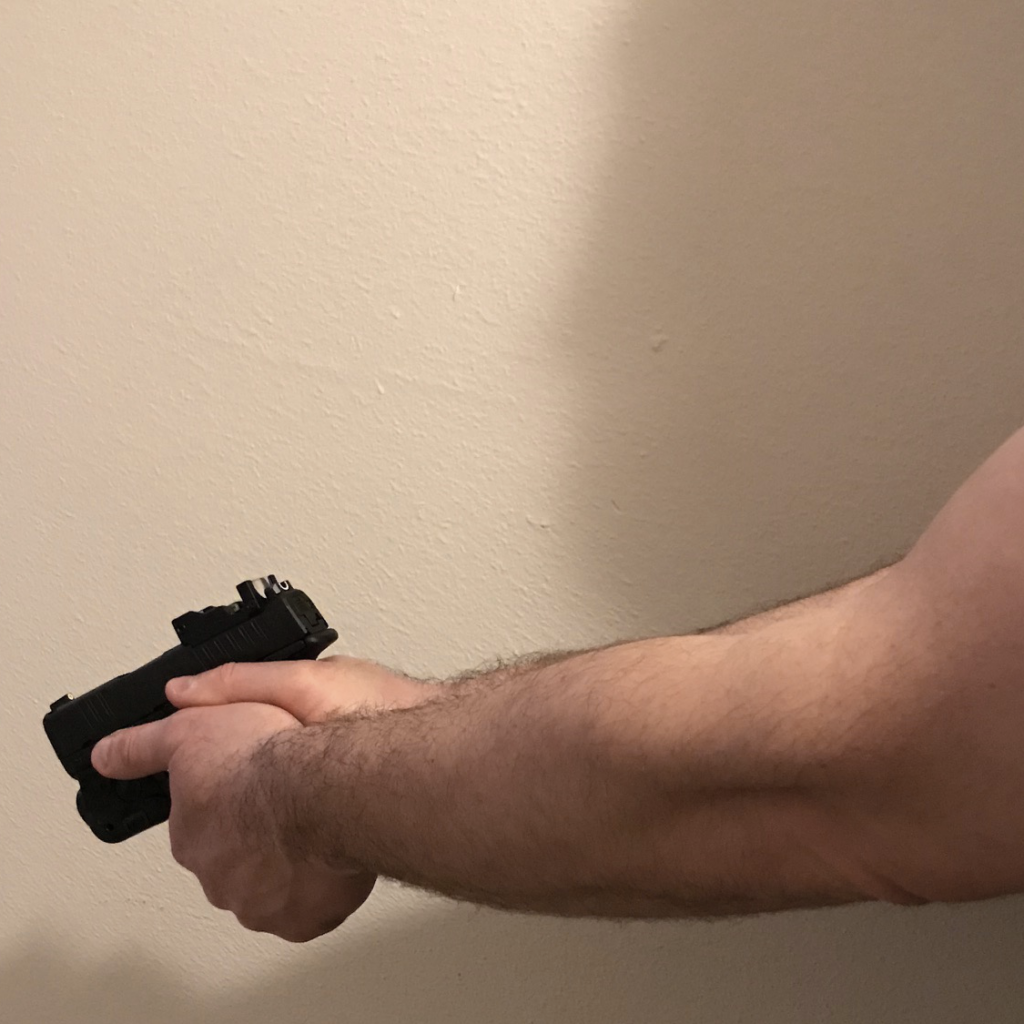
Keep Your Finger Off the Trigger Until Ready to Fire
This rule can be a bit misleading and for safety reasons, we need to add “Off the Trigger Guard” as well. During many maneuvers, the Trigger Finger should be above the guard and touching the slide.
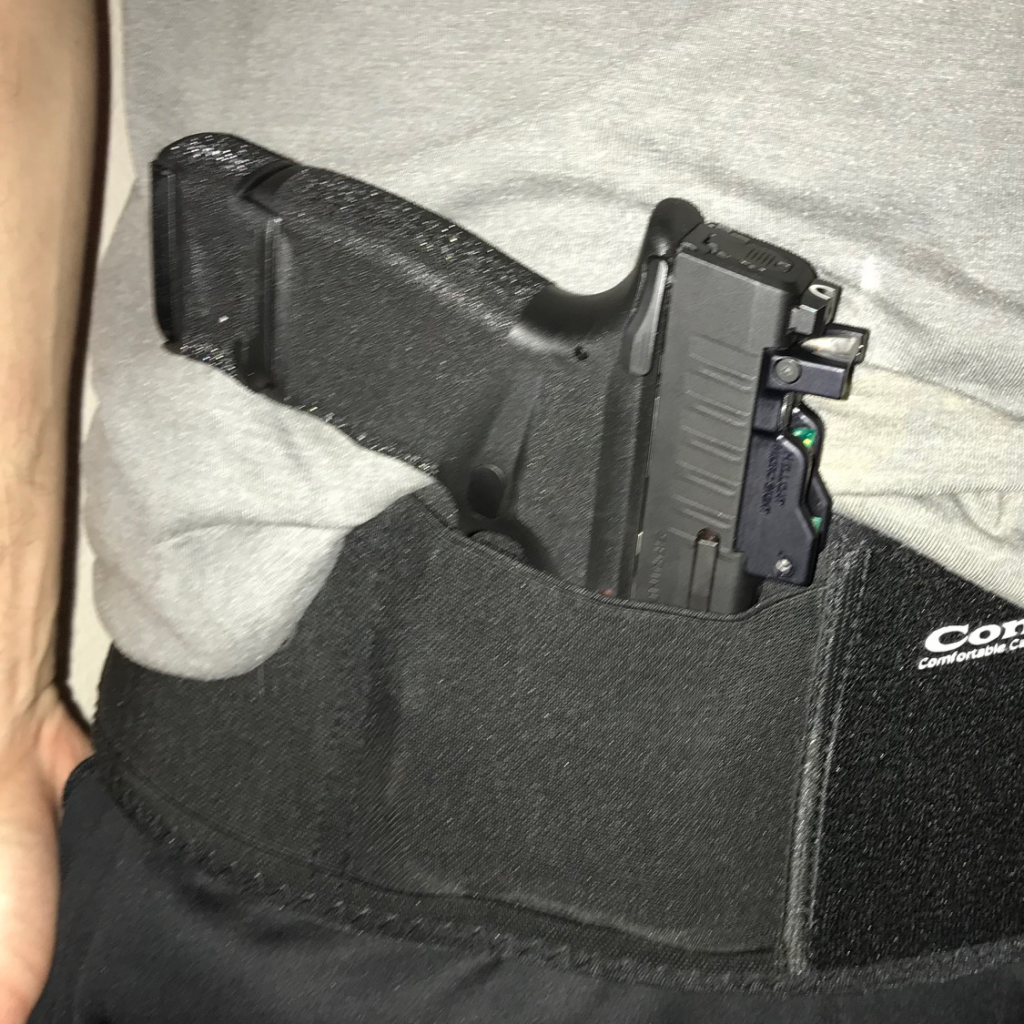
During movement, our grip shouldn’t be compromised, but in real life situations, things will never be perfect and that “perfect grip” will get lost. Reassessing grip position with the Trigger Finger on the slide won’t compromise safety. This safety rule is also imperative during the holstering process. Physically look and slow down. We have all the time in the world to holster the firearm.
Be Sure of Your Target and What is Behind It
Last, but not least we need to focus on the target and what is behind it. All these rules apply to Dry and Live Fire and when setting up targets for in-home, Dry Fire we always make sure the chamber, magazine well and magazines are clear, as well as removing all live ammunition from the room. What’s even as critical is setting the targets up in a safe direction.
What’s in front of the target? What’s on the backside of the wall? Are neighbors living close or on the other side of the wall? Are there other potential safety hazards, for instance: propane tanks or other flammable/explosive materials?
Have questions about any of these concepts? Contact us HERE and would love to help.
Stay well and stay safe!